Sometimes it's not practical to implement a native platform authentication in your game (like Sign in with Apple) due to development time constraints or player convenience. That's why we've created Remote Login, which provides a quick and easy way to authenticate your players across multiple platforms, without having to implement each platform's authentication method individually.
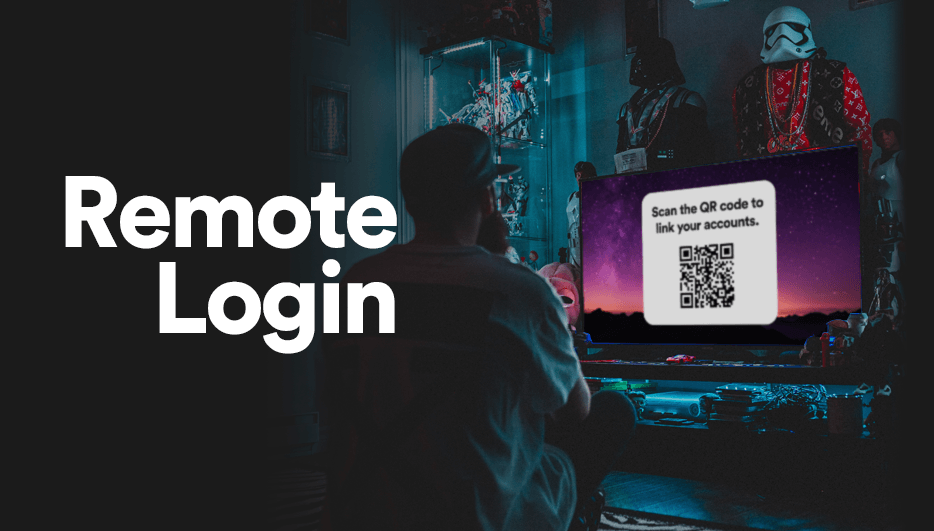
In fact, you may have encountered an example of how Remote Login works if you've ever had to login to streaming services, such as Disney+ or Netflix on your TV. Just like that, with LootLocker's Remote Login, we provide your players with a URL (or QR code) that takes them a website where they can connect multiple platform accounts togehter, unlocking the holy grail of cross-platform goodness - cross-progression and cross-saves. Cross-everything!
This guide will walk you through implementing Remote Login in your Unity game. Before you start, if you're new to LootLocker, make sure to follow our quickstart guide to get set up with a free account and download and install our SDK.
Example Use Case
So, you’ve made a mobile game and are porting it to console but want to offer your players the ability to carry on their progression between the mobile game and the console game. It's not realistic to use native authentication for Sign in with Google and Sign in with Apple as it's too time consuming and doesn't make it easy for the players. Instead, you make the wise decision to use LootLocker's Remote Login system to provide your players with a great experience by displaying a URL (or QR code) in the game that they visit on their phone's web browser to connect their accounts.
This guide will walk you through implemeting this in your Unity game.
LootLocker Console Setup
First, you need to set up Unified Player Accounts on LootLocker
Remember to Enable External Authentication on the right side of the screen, then set a title which will be presented to your players and optionally set a Logo as well.
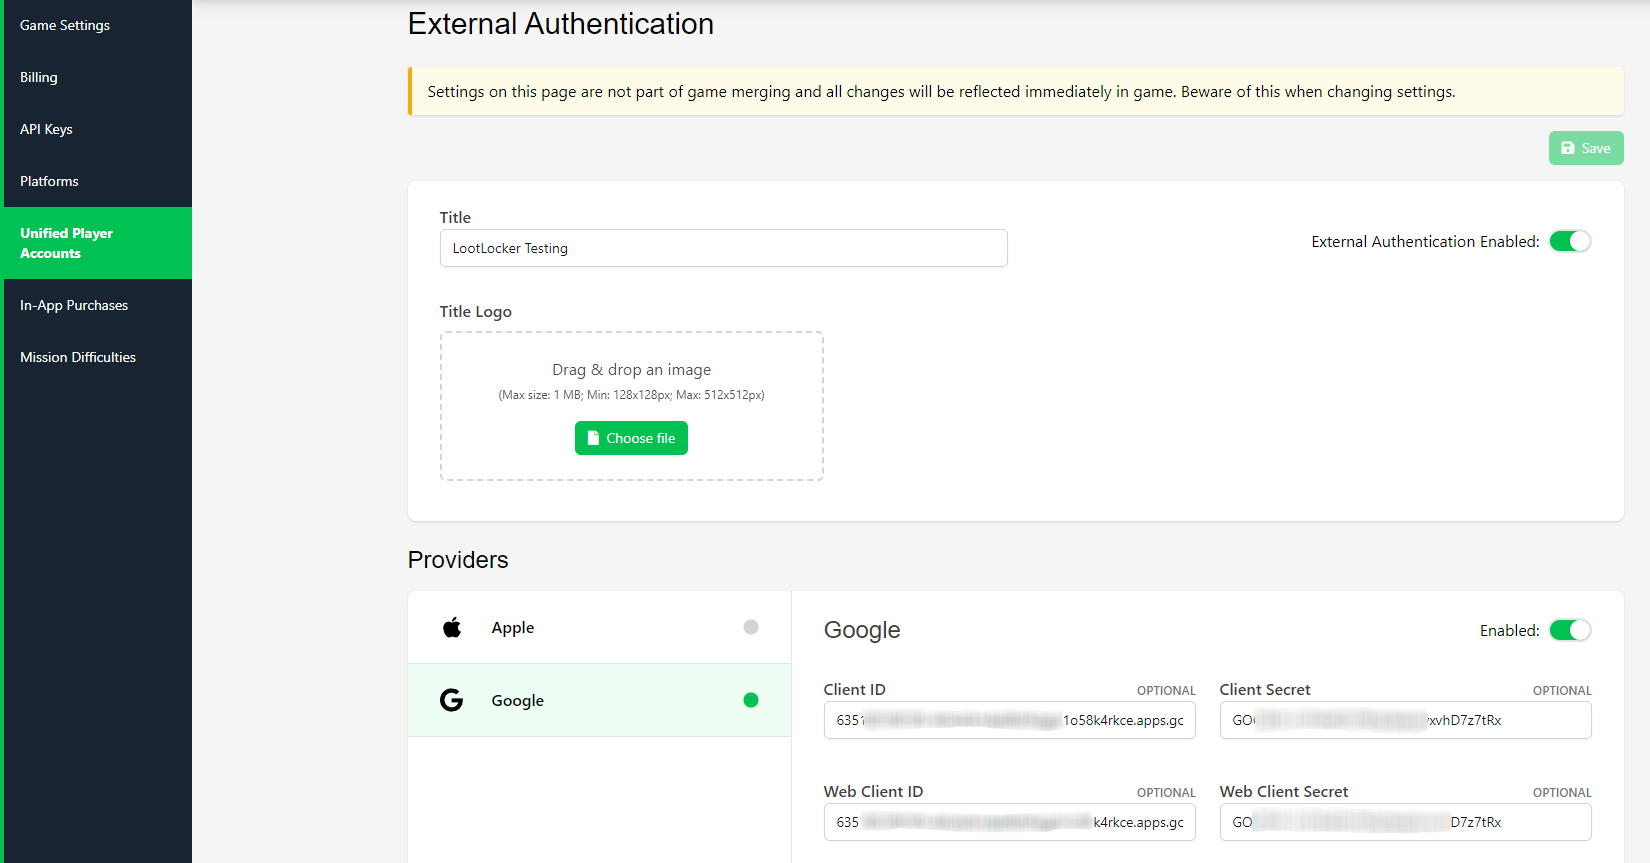
Enable the Provider(s) which you want available and paste in the necessary information. For this guide we will be using Web Client OAuth 2.0 from Google Cloud.
Presenting the auth.game URL
When starting a Remote Session LootLocker will send you the following information that you can choose to display to the player depending on your preference:
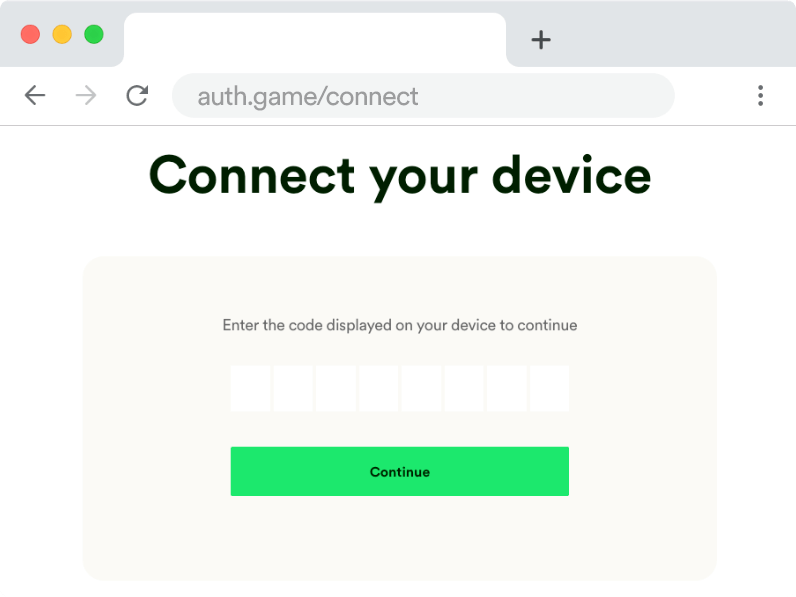
- An Auth Code used to identify the player on auth.game/connect website
- The auth.game URL without the Auth Code, which allows your player to type in the URL on a different device and enter the Auth Code to identify themself
- The auth.game URL with prefilled Auth Code, for devices where the user can click URLs and enter a brower directly from the game (e.g. mobile and PC games)
- A QR code (that links to the auth.game URL with prefilled Auth Code) in base64 png format that can be scanned with a phone's camera
Unity Implementation
Since StartRemoteSession accepts three callbacks, it is easier to store them in variables and reference them in the method, these callbacks are called remoteSessionLeaseInformation, remoteSessionLeaseStatusUpdate, and onComplete.
We always make sure each step is successful, if not it will return with a debug error message.
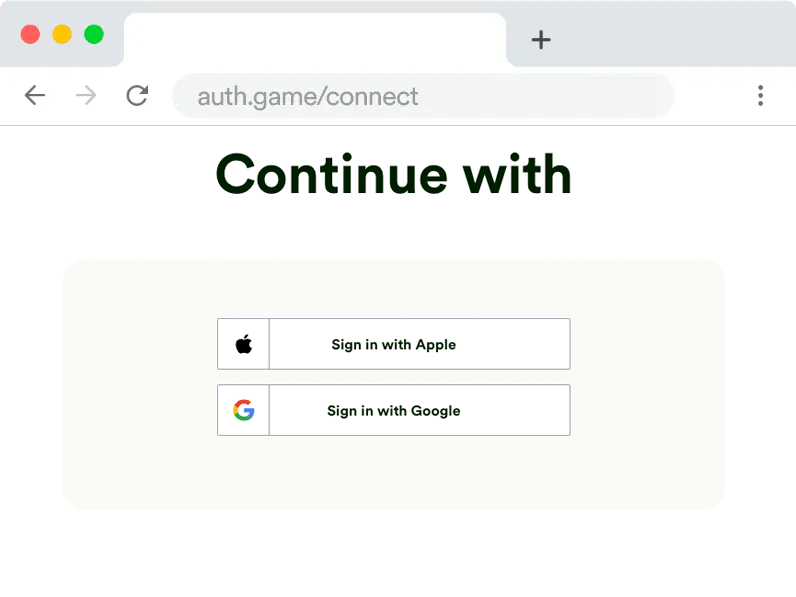
Line 31 and 32 shows our first method of using Remote Session, we simply make a text element with a hyperlink to the url they need to access, either by pressing it, or copying the url path and another text element which has the code. Afterwards the player will be met by a screen where they are requested to put in the code and then select which provider to use.
Line 35 shows the second method, using the redirect_url means it has baked in the code and nonce which removes the step of manually typing the code and directly guides the user to choosing which provider to use.
Line 38 to 42 shows the final method, using a base64 encoded string which we can convert to a texture and render perfectly in our game engine. The format of the picture is PNG so that it is supported in most use cases. Your user will then be able to scan the QR code and be presented with which provider to use.
Line 65 is where we call the StartRemoteSession, it takes in our three callback variables and will run it all.
In the response from StartRemoteSession you receive a refresh token. Use RefreshRemoteSession for subsequent player logins (when the player is returning to the game) to ensure the player only has to go through the Remote Sesion flow once per device.